Read Time:1 Minute, 23 Second
Step 1: Check System Requirements
- Operating System: Windows 10 Pro, Enterprise, or Education (64-bit).
- Processor: 64-bit processor with Second Level Address Translation (SLAT).
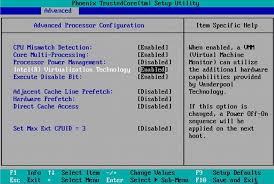
- Hardware Virtualization Support: Ensure Intel VT-x or AMD-V is enabled in the BIOS.
- RAM: Minimum of 4 GB.
Step 2: Enable Hyper-V
- Access Windows Features:
- Press
Windows + Rto open the Run dialog box. - Type
optionalfeaturesand press Enter.
- Press
- Turn On Hyper-V:
- In the Windows Features dialog box, scroll down and check the box for Hyper-V.
- Ensure all sub-options under Hyper-V are selected.
- Click OK and restart your computer when prompted.
- Verify Installation:
- After the restart, press
Windows + Xand select Windows PowerShell (Admin). - Type
Get-WindowsFeature -Name *Hyper-V*and press Enter. - Ensure that Hyper-V is listed as Installed.
- After the restart, press
Step 3: Create a New Virtual Machine
- Open Hyper-V Manager:
- Press
Windows + S, typeHyper-V Manager, and open it.
- Press
- Create a New Virtual Machine:
- In Hyper-V Manager, click Action > New > Virtual Machine.
- Follow the New Virtual Machine Wizard:
- Specify Name and Location: Enter a name for the VM and choose a location to store VM files.
- Specify Generation: Choose Generation 1 (BIOS) or Generation 2 (UEFI).
- Assign Memory: Allocate RAM (e.g., 2048 MB).
- Configure Networking: Select a virtual switch.
- Connect Virtual Hard Disk: Create a new virtual hard disk (e.g., 50 GB).
- Install Options: Choose to install an OS later or use an ISO file to install the OS now.
- Install the Operating System:
- If you chose to use an ISO file, the VM will boot from the ISO.
- Follow the OS installation steps within the VM.
15 total views , 1 views today


![[Resource]: Installing Webuzo on Your Nestict Cloud VPS: A Detailed Guide](https://www.blog.nestict.com/wp-content/uploads/2024/12/image.webp)
![[Resource] : Comprehensive List of Equity Bank Codes Across Kenya by Region](https://www.blog.nestict.com/wp-content/uploads/2024/12/image-5.png)


![[Continuation]: Current Challenges in Making Physics and Geography Compulsory](https://www.blog.nestict.com/wp-content/uploads/2024/12/The-universe-of-mathematics-physic-and-astronomy-its-ama…-Flickr.jpg)
![[Resource] : Why Physics and Geography Should Be Compulsory Like Mathematics in Education](https://www.blog.nestict.com/wp-content/uploads/2024/12/image.png)

![[LINKTREE] 2024 PAST PAPERS , NOTES ,RESOURCE,REVISION,EXAMINATIONS](https://www.blog.nestict.com/wp-content/uploads/2024/10/SCHM.jpeg)


![Maritime Terms, Abbreviations and Acronyms [Shipping Terms – Searchable]](https://www.blog.nestict.com/wp-content/uploads/2024/09/Container-Stowage-Stock-Illustrations-–-71-Container-Stowage-Stock-Illustrations-Vectors-Clipart-Dreamstime.jpg)
![Maritime Terms, Abbreviations and Acronyms [ Shipping Terms]](https://www.blog.nestict.com/wp-content/uploads/2024/09/image.png)


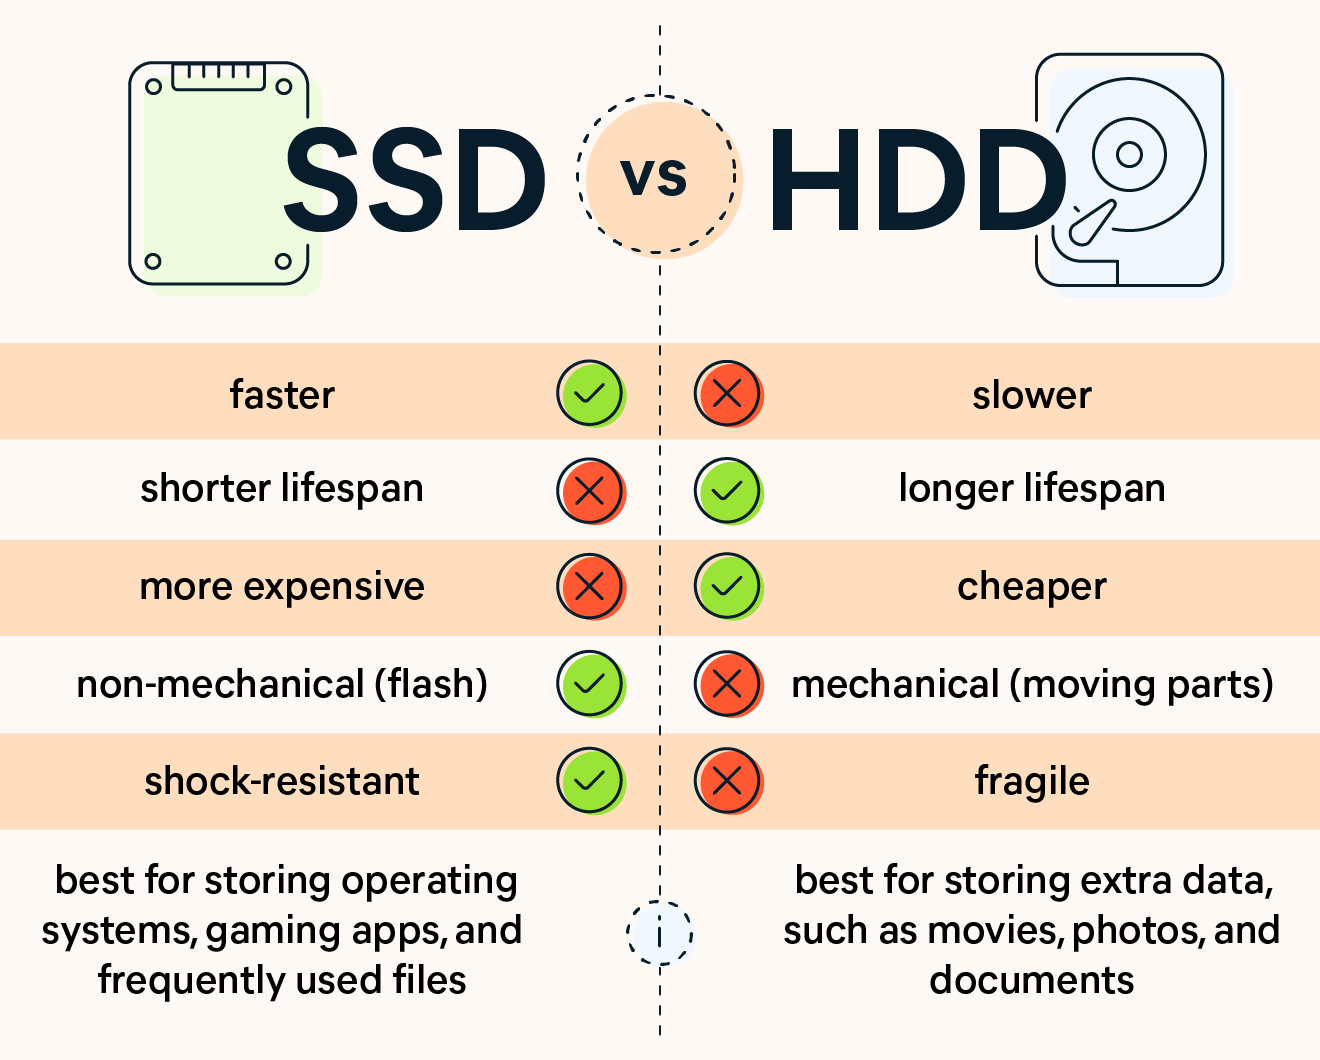
![[Explainer]: NVMe storage, SSD (SATA SSD), and HDD](https://www.blog.nestict.com/wp-content/uploads/2024/08/Laptops-are-available-with-SSDs-and-HDDs.png)




![[Updated 2024] – Passport Application FOR CHILDREN ONLY(PERSONS UNDER 18 YEARS)](https://www.blog.nestict.com/wp-content/uploads/2023/09/keppp-240x172.png)
![[Updated 2024] -Passport Application FOR ADULTS ONLY-PERSONS OVER 18 YEARS](https://www.blog.nestict.com/wp-content/uploads/2023/09/EAF-Passport-e1631045054464-400x800-1-240x172.jpg)

